Summary:
The biggest mistake most people make is waiting until the end of the week to clean their tools. By then, mortar has hardened into concrete-like deposits that require serious effort to remove.
Smart contractors clean as they go. A quick rinse and scrape after each mix keeps buildup manageable. It takes two minutes versus two hours later.
The key is having the right setup ready. Keep a bucket of clean water, wire brushes, and scrapers within reach of your work area.
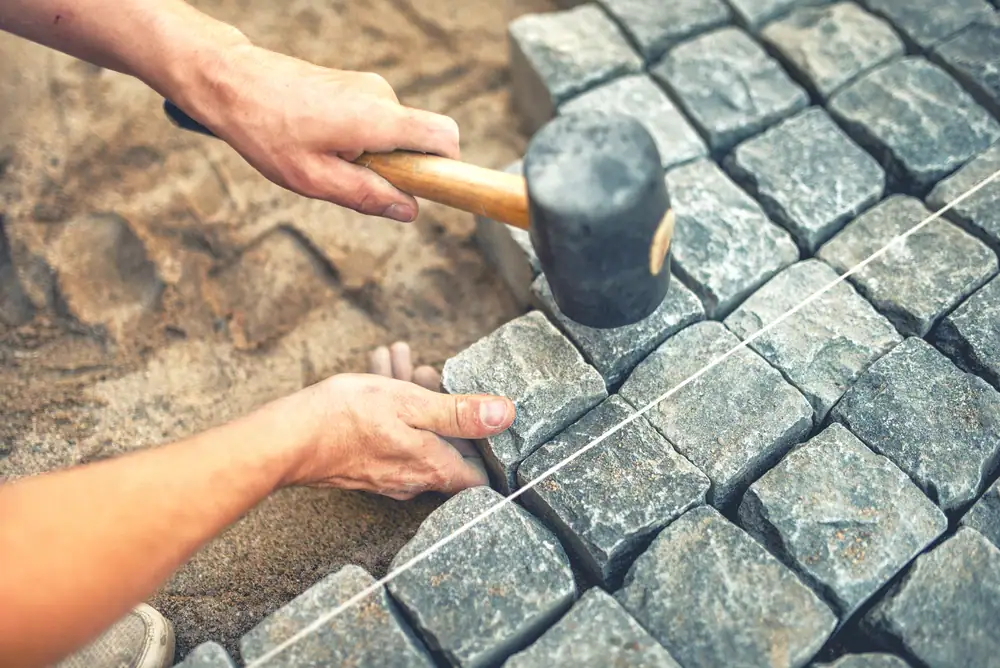
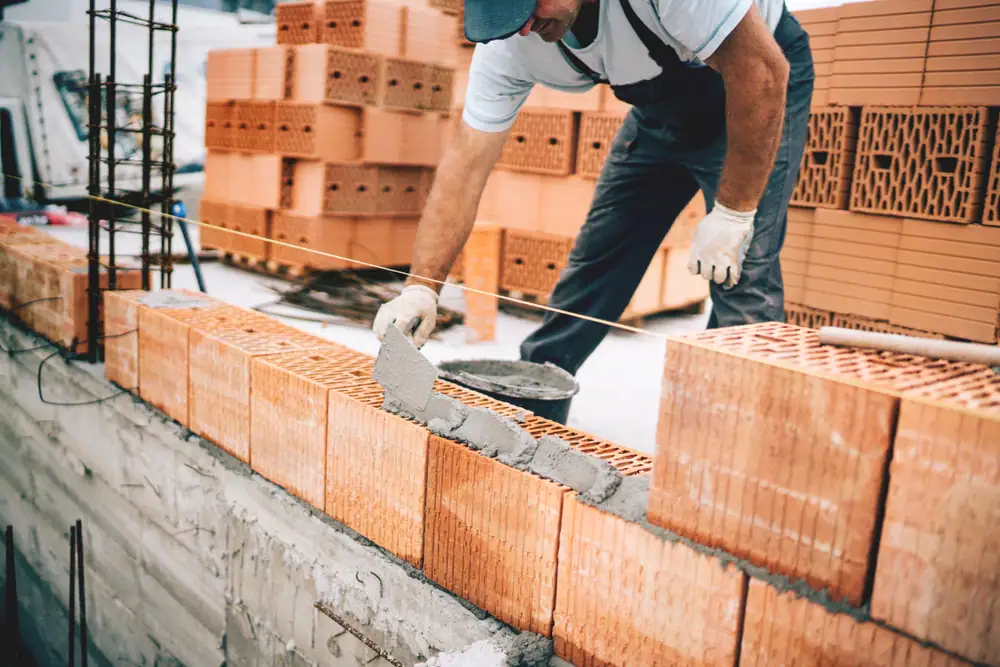
Not everything needs immediate attention, but some materials will ruin your tools if left sitting. Fresh mortar and concrete should be cleaned off within 30 minutes of use. These materials continue curing even on your tools, creating bonds that become nearly impossible to break without damaging the metal.
Mud and dirt can usually wait until the end of the day. They don’t chemically bond to your tools like cementitious materials do. However, don’t let them sit for days, especially in humid Long Island summers where moisture accelerates rust formation.
For trowels and floats, pay special attention to the edges where mortar likes to collect. These thin deposits dry faster than you think and can create permanent ridges that affect your tool’s performance. A putty knife or old chisel works well for scraping these areas clean.
Wire brushes are your friend for textured surfaces on tools like brushes and brooms. Don’t use them on smooth trowel faces though – they’ll create scratches that make future cleaning harder. For smooth surfaces, plastic scrapers and clean rags work better.
The water you use matters too. Clean water removes material better than dirty water. Change your cleaning bucket regularly throughout the day, especially when working with different materials that might react with each other.
Want live answers?
Connect with a Powerhouse Mason Supply expert for fast, friendly support.
Daily cleaning keeps your tools functional, but long-term maintenance keeps them profitable. This means regular inspections, proper storage, and preventive care that catches problems before they become expensive.
Most tool failures happen gradually, then suddenly. A small chip in a trowel edge becomes a major crack. Surface rust becomes deep pitting. Loose handles become broken handles.
Weekly inspections catch these issues early when they’re still fixable. Look for loose fasteners, developing cracks, and early signs of rust or corrosion.
Where and how you store tools affects their lifespan more than most people realize. Moisture is the enemy of metal tools, and Long Island’s coastal climate makes this especially challenging. Tools left in damp basements or unheated garages often develop rust problems within months.
The best storage areas stay dry and maintain relatively stable temperatures. A heated garage or basement workshop works well. If you must store tools in unheated areas, use moisture-absorbing products like silica gel packets or calcium chloride containers to control humidity levels.
Hand tools should be stored off the ground and away from concrete floors that can transfer moisture. Pegboards work well for frequently used items. For less common tools, toolboxes with foam inserts prevent tools from banging against each other during transport.
Power tools need special attention. Remove batteries when storing for extended periods. Clean out dust and debris from vents and moving parts. Some contractors apply a light coat of machine oil to metal parts before long-term storage, but be sure to clean this off before use.
Wooden handles benefit from being stored in areas with moderate humidity. Too dry and they crack. Too wet and they swell or develop mold. If you notice handles becoming loose, don’t ignore it. Tighten them immediately or the constant movement will enlarge the mounting holes.
For mixing equipment like mortarboards and wheelbarrows, store them inverted when possible. This prevents water from pooling and accelerating rust formation. If you can’t store them upside down, at least tilt them so water drains completely.
Knowing when to fix a tool versus buying a new one saves money and prevents job site failures. Some repairs are straightforward and cost-effective. Others cost more than replacement and don’t last.
Handle replacement usually makes sense for quality tools. A $15 handle replacement on a $60 hammer is smart economics. The same repair on a $20 hammer probably isn’t worth the effort. Look for tools where the metal components are still in good condition but the handles are worn or damaged.
Trowel repairs depend on the extent of damage. Small chips can be filed smooth and don’t significantly affect performance. Large chips or cracks that extend into the blade body usually mean replacement time. Bent trowels can sometimes be straightened, but they’re often weakened and prone to breaking under stress.
Power tool repairs require more careful consideration. Motor problems, switch failures, and gear damage often cost 60-80% of replacement price. For tools under warranty, repairs make sense. For older tools, replacement usually offers better value and reliability.
Rust damage varies widely in repairability. Surface rust can be removed with wire brushes and steel wool. Deep pitting that affects tool function typically can’t be repaired economically. The key is catching rust early through regular inspections and proper storage.
Keep repair costs in perspective. A repair that costs more than 50% of replacement price rarely makes financial sense unless the tool has special features or sentimental value. Factor in the time spent on repairs and the risk of failure on important jobs.
Proper tool maintenance isn’t complicated, but it requires consistency. Daily cleaning, weekly inspections, and proper storage will extend your tool life significantly and save money over time.
The techniques covered here work because they address the real causes of tool failure – moisture damage, material buildup, and neglect. Implement them gradually if needed, but start with daily cleaning since that provides the biggest immediate benefit.
When you need quality tools, maintenance supplies, or expert advice about tool care, we have the experience and inventory to keep your equipment working properly for years to come.
Article details:
Share:
Continue learning: